Understanding the Importance of Vertical Storage in Tiny Kitchens
Challenges Faced in Small Apartment Kitchens
Living in a small apartment often means grappling with limited kitchen space. Countertops can quickly become cluttered, and cabinets may not hold all the essentials. When square footage is tight, it’s all too easy to feel overwhelmed by the lack of storage options. Cramped kitchens can restrict cooking efficiency and make meal preparation more stressful than it needs to be.
Benefits of Utilizing Vertical Space
Vertical storage offers a smart, efficient solution to these challenges by transforming unused wall and ceiling areas into practical storage zones. By looking upward instead of outward, you free up precious counter and cabinet space. This not only keeps your kitchen tidy but also expands the room’s functionality. Vertical storage helps maintain order, improves accessibility, and often adds an element of style, turning your compact kitchen into a more enjoyable workspace.
Preparing Your Kitchen for Vertical Storage Installation
Assessing Available Wall and Ceiling Space
Before making any purchases or starting to mount shelves, take a good look around your kitchen. Identify walls that are free from appliances or windows and note any stretch of ceiling where hanging racks could work. Measure these areas carefully to understand how much space you have to work with. This step is key to ensuring your vertical storage solutions will fit seamlessly and won’t overcrowd the room.
Choosing the Right Tools and Materials
Installing vertical storage requires the right set of tools to make sure everything is secure and safe. Basic items like a drill, level, measuring tape, and sturdy screws or anchors will be your best friends. The material of the storage unit matters too—wood, metal, or durable plastic each bring different strengths and aesthetics. Choose options that match your kitchen’s style while also being robust enough to hold your items.
Step 1: Clearing and Organizing Existing Kitchen Items
Decluttering Essentials vs. Non-Essentials
Before you can effectively install storage, take time to declutter your kitchen. Separate items you use daily from those that rarely see the light of day. This not only lightens what needs to be stored but also helps in deciding what truly deserves prime vertical real estate. Sometimes, the best way to optimize space is simply to get rid of or donate things you no longer need.
Sorting Items by Frequency of Use
After decluttering, organize what remains by how often you use them. Items used multiple times a week should be within easy reach on your new storage units, while seasonal or rarely used items can go higher up or into less accessible spots. This approach ensures your kitchen operates smoothly and cutting down on frustrating hunting time.
Step 2: Selecting Vertical Storage Solutions
Wall-mounted Shelves and Racks
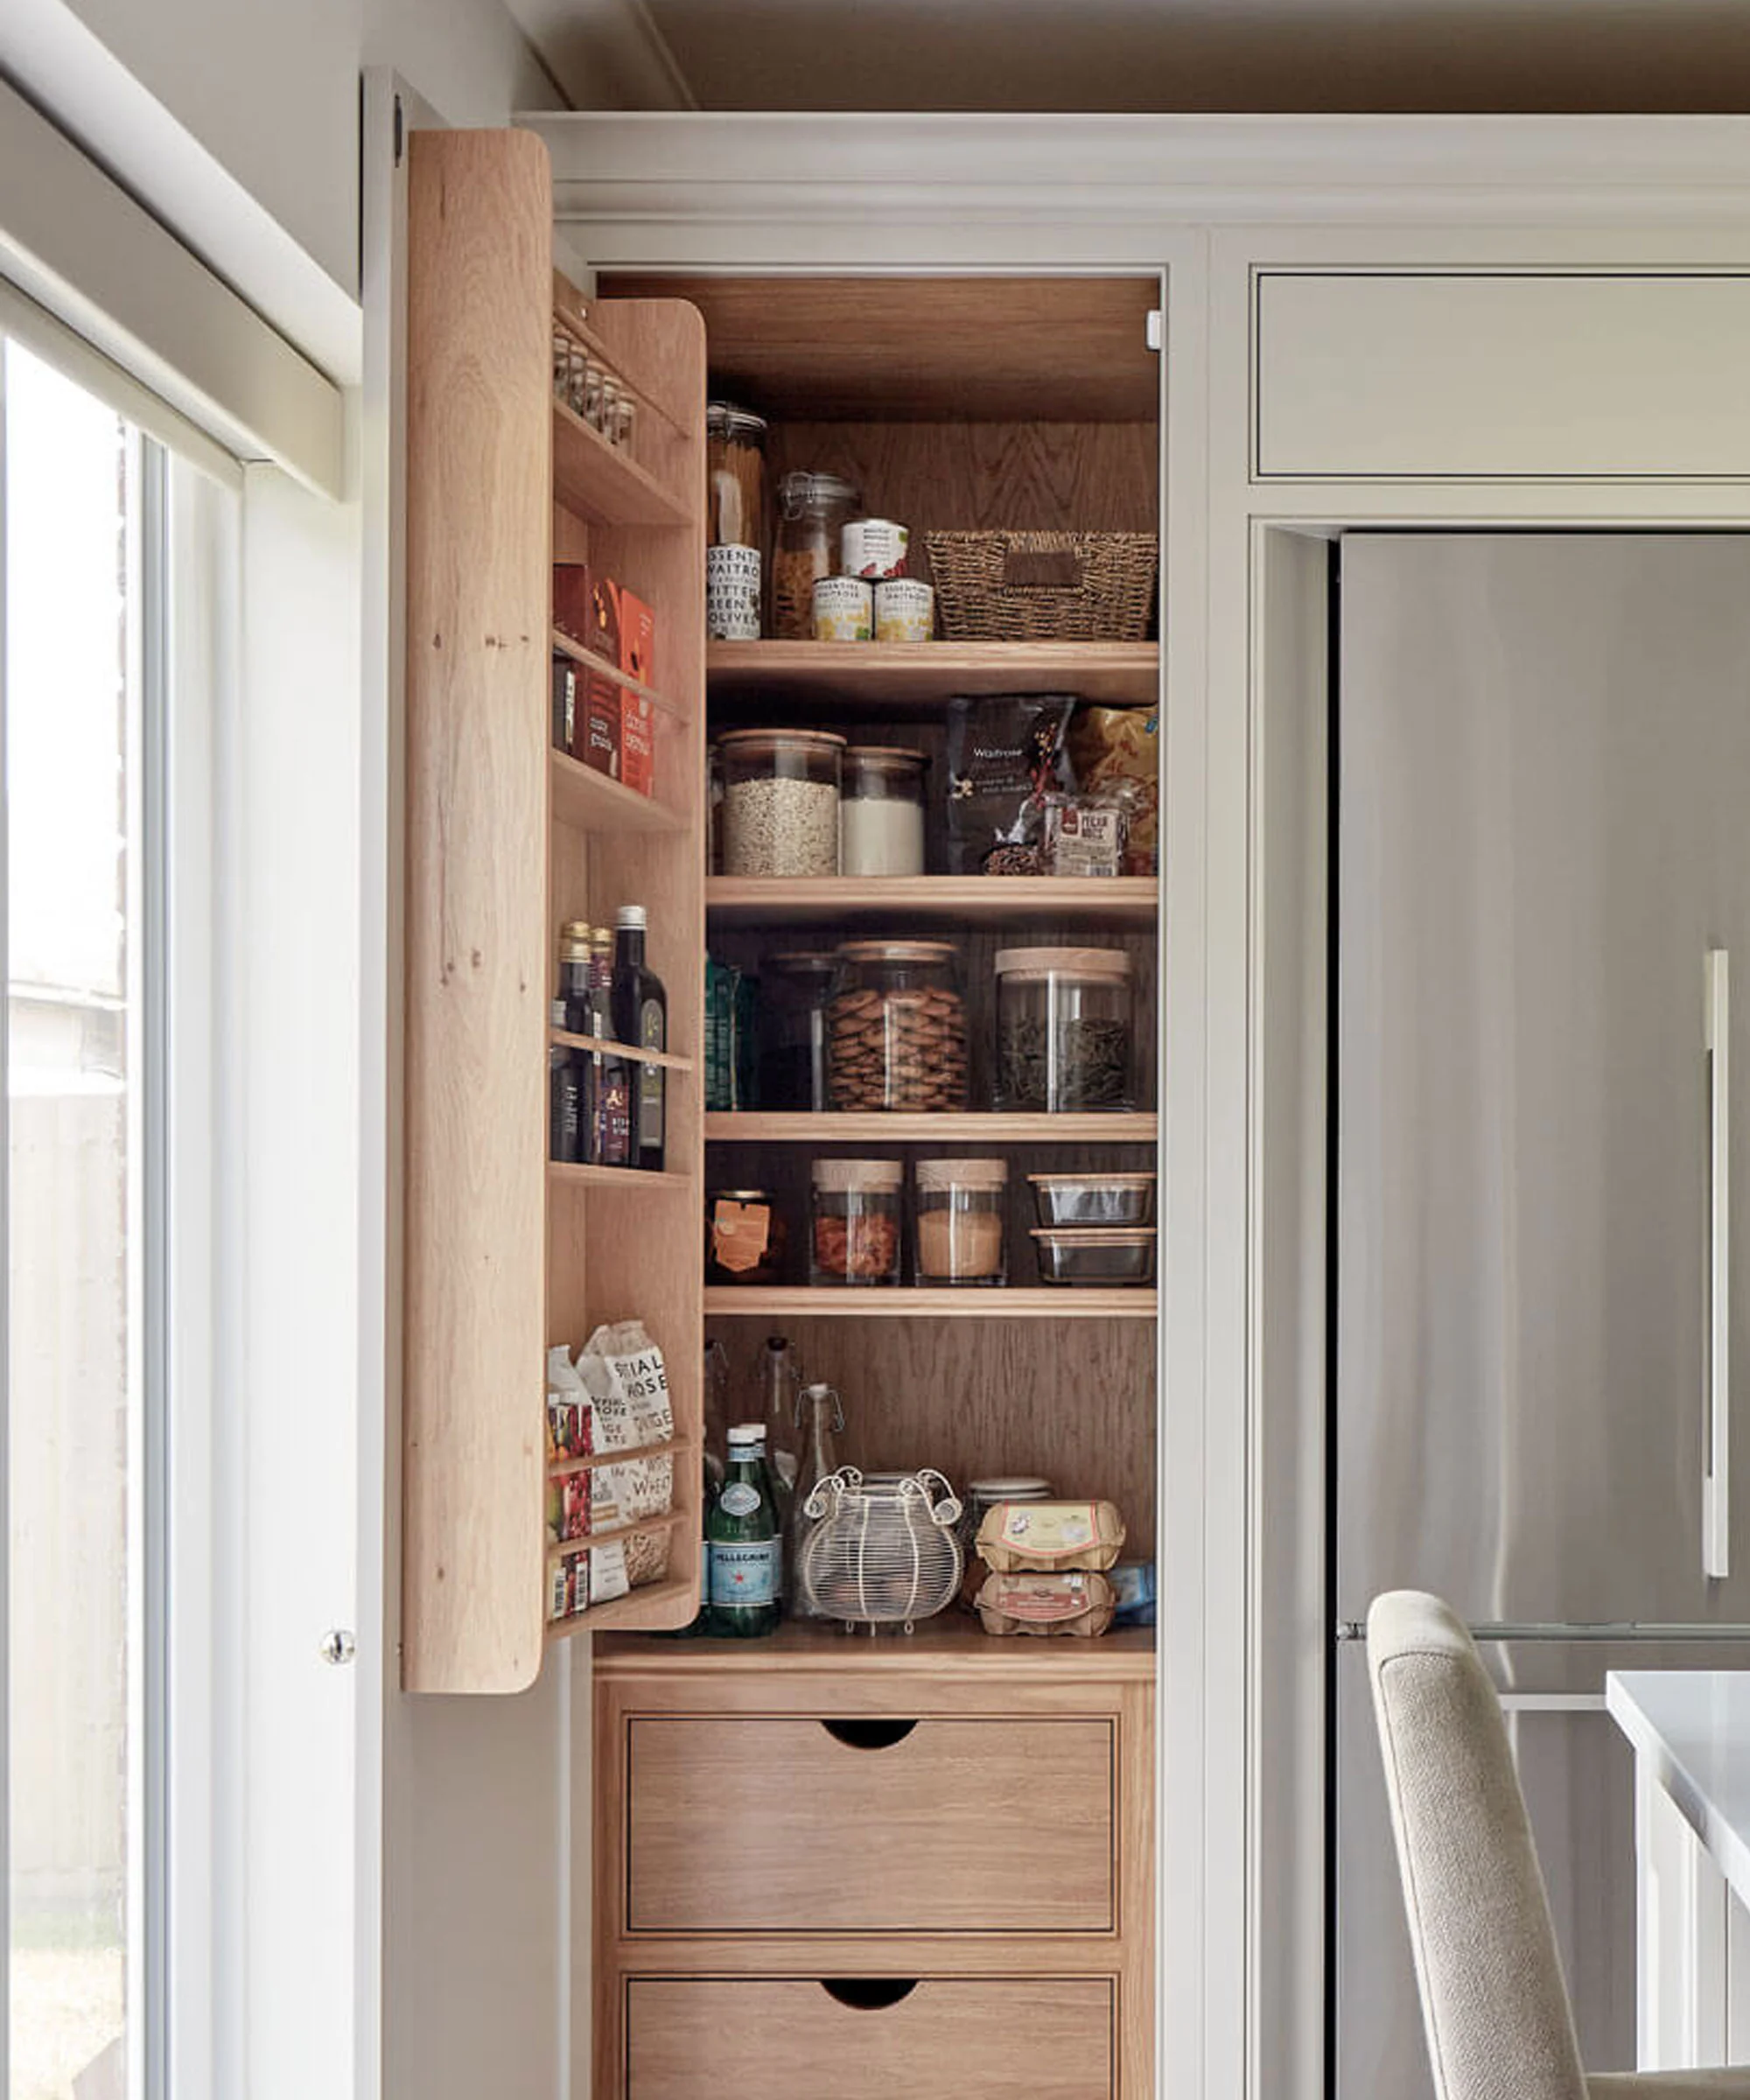
Wall-mounted shelves are an excellent foundation for vertical kitchen storage. They’re versatile for holding dishes, cookbooks, or pantry items and can be customized in length and height to suit your needs. Open shelves encourage a clean, airy feel and keep your kitchen essentials visible, making it easier to grab what you need.
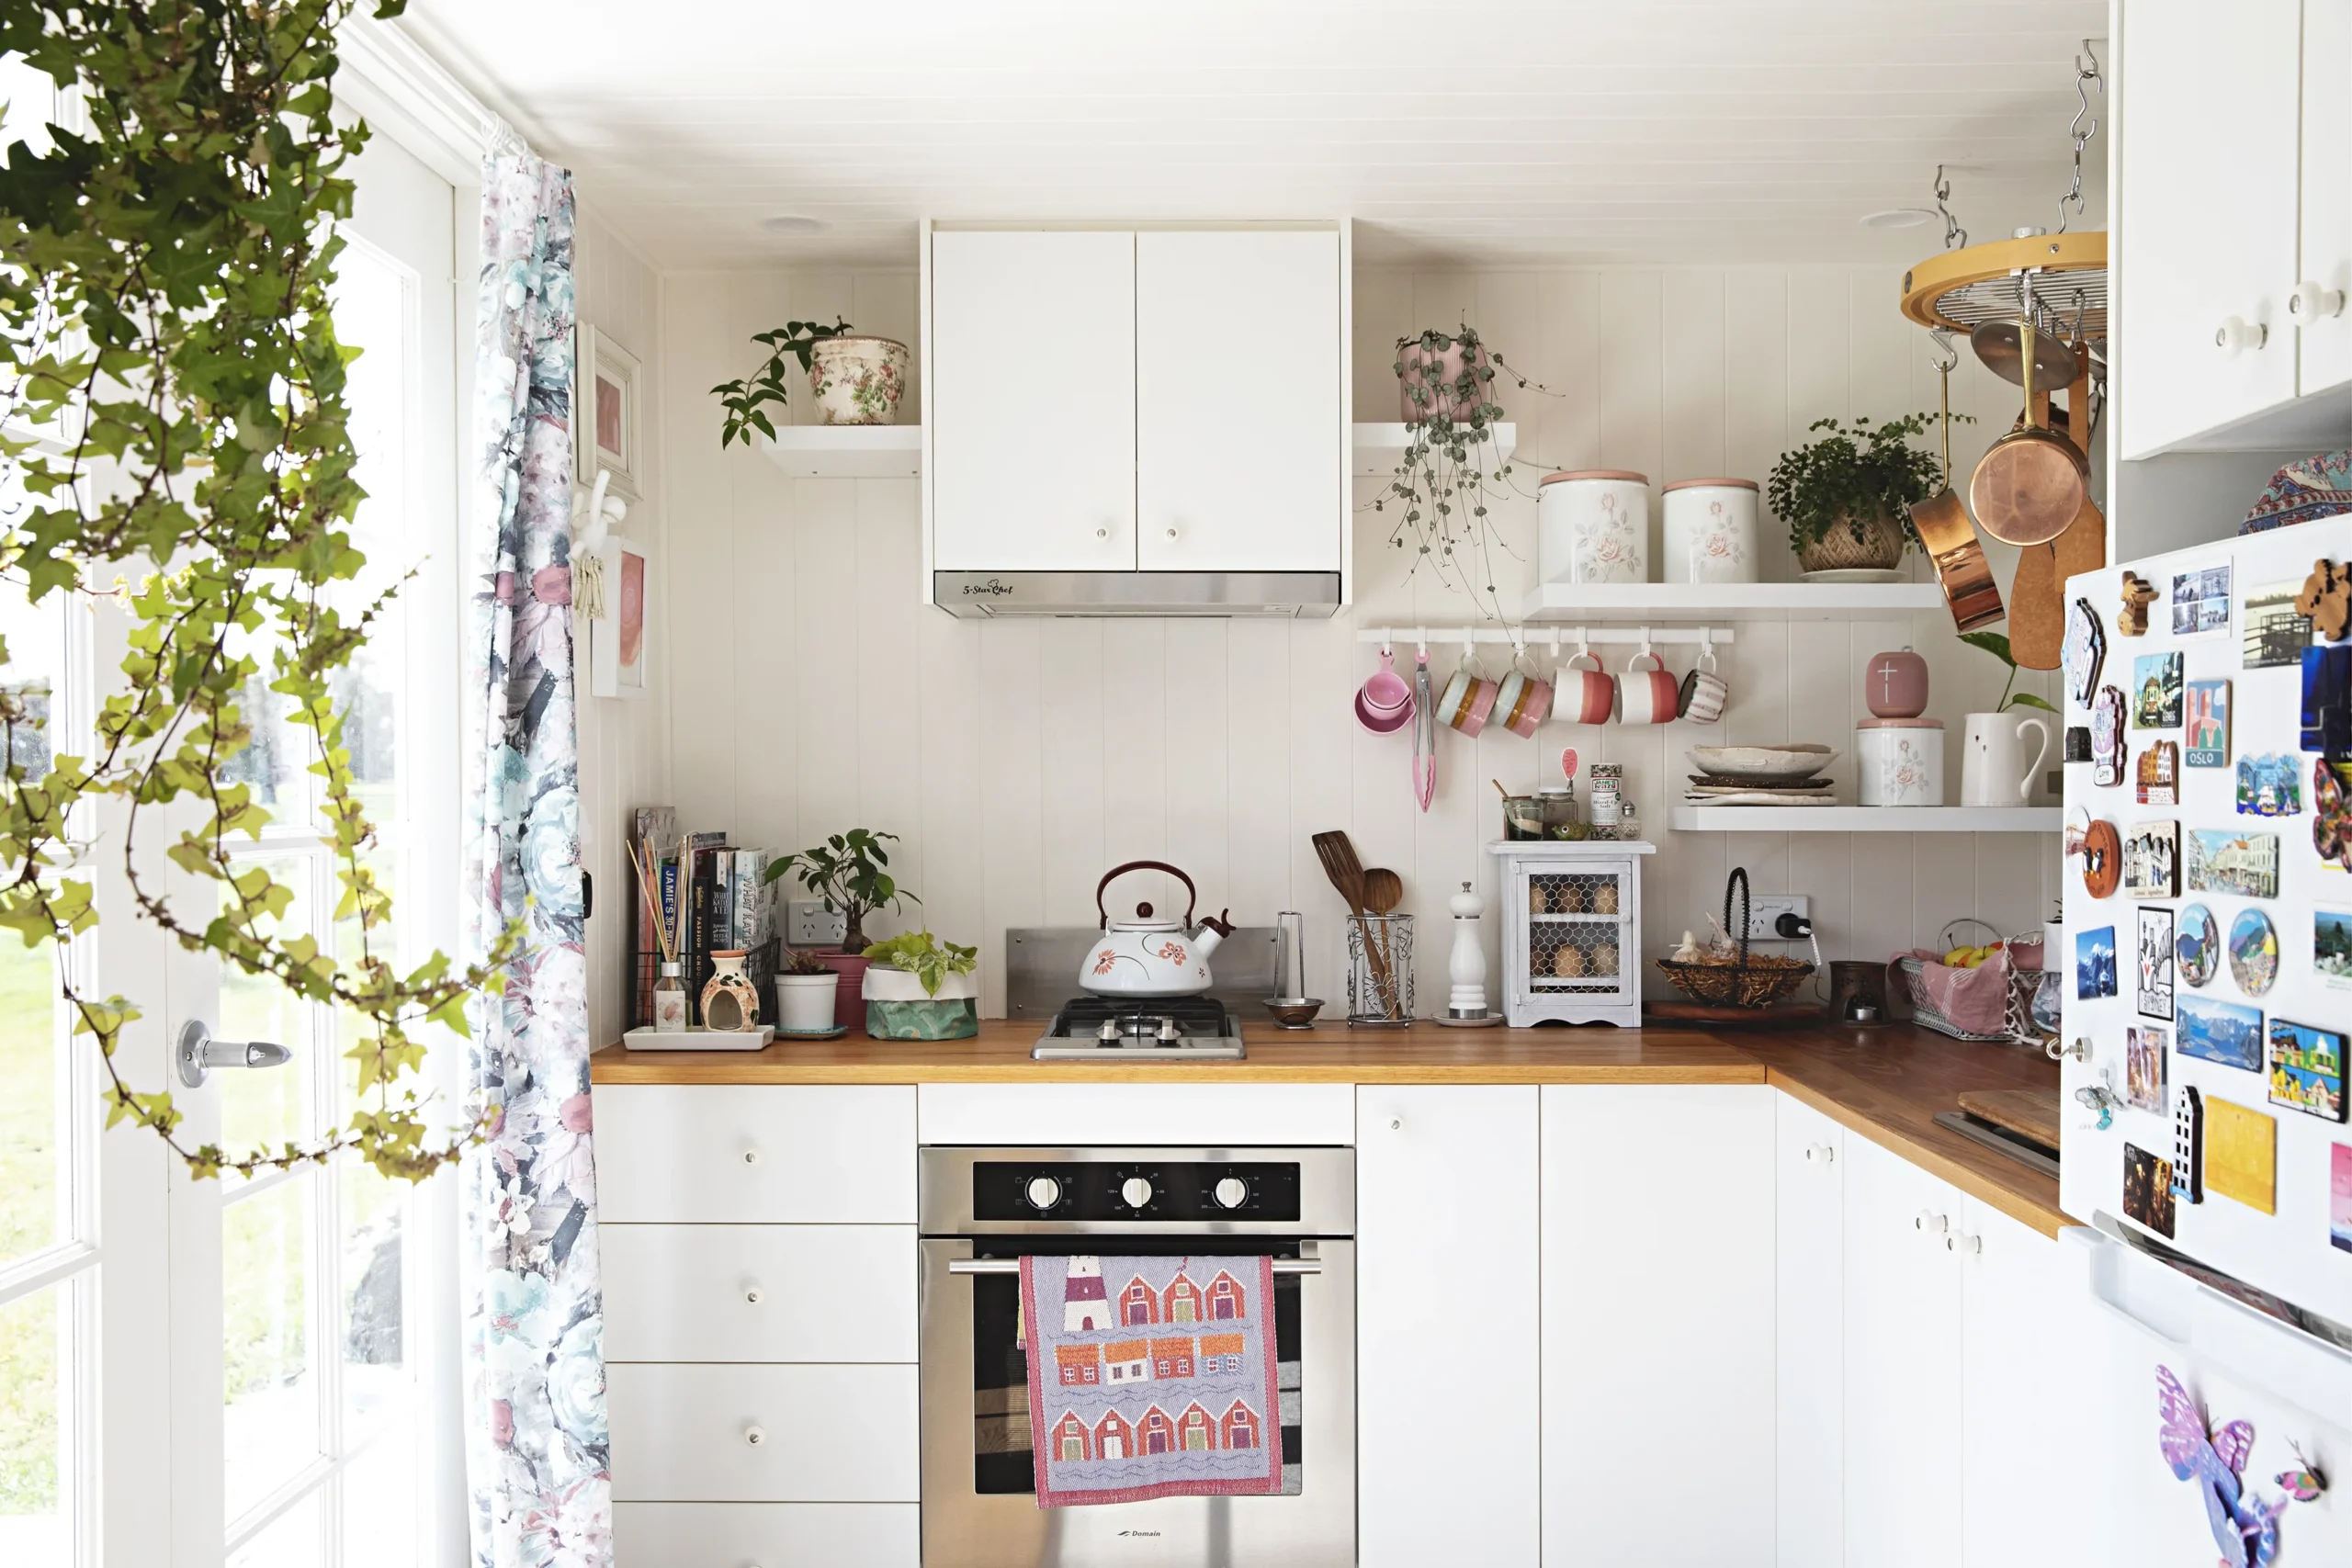
Overhead Pot Racks and Hooks
Overhead pot racks can be a game-changer in small kitchens. Suspending pots and pans from the ceiling not only frees up cabinet space but also adds a fun visual element. Hooks along walls or under cabinets provide a convenient spot for mugs, utensils, or towels, keeping these handy without cluttering counters.
Magnetic Strips and Pegboards
Magnetic strips are perfect for knives and metal utensils, ensuring safety and quick access. Pegboards offer flexible storage that can be adapted as your collection of kitchen tools grows or changes. Both options utilize vertical space efficiently and keep your counters clear.
Step 3: Installation Process
Measuring and Marking Wall Space
Precision is crucial when installing vertical storage. After selecting your pieces, measure and mark the exact spots on the wall to avoid uneven or unstable mounts. A level will keep everything straight; taking the extra time here pays off with a professional-looking result. Double-check your measurements against the dimensions of your storage units to ensure they align perfectly.
Secure Mounting Techniques for Stability
Stability is a must, especially when dealing with heavy pots or glass jars. Use wall anchors appropriate for your wall type—drywall, brick, or concrete. Screws should be tight but not overdriven, and confirm that every shelf or rack feels sturdy before loading it with items. When in doubt, it’s better to enlist help or consult a professional.
Step 4: Organizing Items for Maximum Efficiency
Grouping by Category and Accessibility
Once your storage is installed, it’s time to arrange your kitchen items thoughtfully. Group similar items together—baking supplies in one area, spices in another—to streamline your cooking process. Place the most frequently used things at eye level or within easy reach. This organization method reduces time spent searching and keeps your kitchen running smoothly.
Using Clear Containers and Labels
Clear storage containers are a practical choice for visibility and keeping items fresh. Labeling the containers further eliminates guesswork and encourages everyone in the household to maintain order. Even a simple label system can save frustration during busy meal prep times.
Creative Vertical Storage Ideas to Maximize Space
Repurposing Everyday Items for Storage
Think outside the box by using items you already own for vertical storage. A spice rack can hang on a narrow wall, while an old ladder might be transformed into a quirky shelving unit. These unique touches can add character while solving space issues creatively and affordably.
Incorporating Multi-Functional Vertical Units
Multi-functional furniture or storage pieces are invaluable in tiny kitchens. For instance, a rolling cart with vertical tiers can serve as additional counter space and storage. Fold-down shelves that tuck away when not in use keep your kitchen adaptable for cooking or entertaining without feeling cramped.
Maintenance Tips to Keep Your Vertical Storage Neat
Regular Cleaning and Reorganization
Vertical storage doesn’t mean set-it-and-forget-it. Dust, grease, and spills can accumulate, so regular cleaning keeps the space fresh and inviting. Periodically reassess and reorganize to ensure your system still fits your lifestyle as your cooking habits evolve.
Adjusting Solutions as Needs Change
As you acquire new kitchen tools or change your cooking style, your storage needs will shift. Be open to swapping out or repositioning shelves, hooks, and racks. Flexibility is key to maintaining a functional and enjoyable kitchen space over time.

